In this blog post I will be sharing step by step installation detail for SQL Server with Best Practice for SharePoint.
SQL Software requirements
- 64-bit edition of Microsoft SQL Server 2012 R2 or SQL Server 2014/16 Standard (Enterprise required for Always On)
- Named SQL alias recommended.
- Windows Server 2012/R2/2014/16 with latest patch levels should be installed prior to Installation.
- SSMS is recommended
- SQL Agent must be setup to run automatically under a domain account.
SQL Roles for SharePoint Setup Account
User account details for SQL Server and SharePoint setup accounts are listed in SharePoint Farm User Accounts.
Add .NET Windows Server Feature on SQL Server
Make sure you have installed you added .NET windows feature on the SQL Server, if not then follow Add .NET Windows Server Feature on Windows Server for details.
Use a dedicated server for SQL Server
To ensure optimal performance for farm operations, we recommend that you install SQL Server 2012 or SQL server 2012 R2 or SQL Server 2014 on a dedicated server that does not run other roles and does not host databases for other applications.
Add .NET Windows Server Feature prior to SQL Server Installation
- To add the .NET Windows Server feature click on Start > All Programs > Administrative Tools > Server Manager.
- From the right side of the screen click on Features.
- Over on the left side of the screen click on Add Features.
- Check the box for .NET Framework 3.5.1 Features.
- When you check the box a window for Add Features Wizard will appear telling you the additional required roles. Click Add Required Role Services.
- Click Next.
- At the Web Server (IIS) screen click Next.
- Accept all of the defaults and click Next.
- At the Confirm Installation Selections click Install.
- At the Installation Results screen make sure everything was successful and then click Close.
Install SQL Server
- Verify user is logged in using SQLAdmin account on the SQL machine.
- Run exe
- From the SQL Server Installation Center click on Installation on the left hand side of the page.
- On the right hand side of the page click on New SQL Server stand-alone or add features to an existing installation.
- After the Setup Support Rules run, click OK.
- Enter your appropriate Product Key and then click Next.
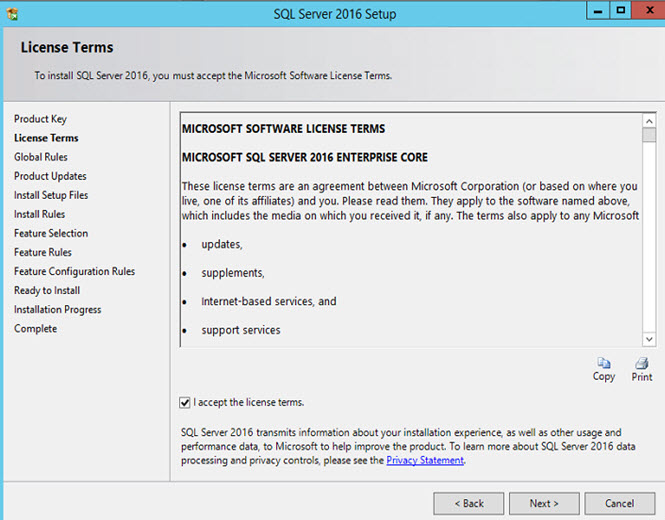
- Select I accept the license terms.
- Deselect Send feature usage data to Microsoft….
- Click Next.
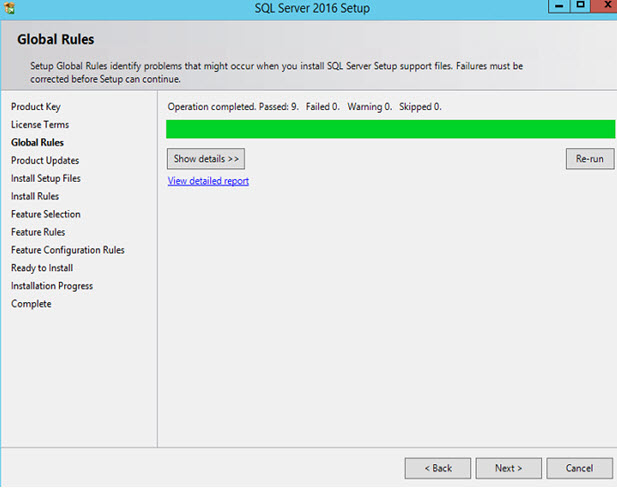
- When the Setup Support Rules screen pops up review any errors or warnings you get. Check errors and install any needed software. Click Next.
- For Setup Role select SQL Server Feature Installation and click Next.
- SharePoint only requires the Database Engine Services.
- Management Tools will have to downloaded from an Online Resource.
- At this time SQL will conduct checks. Not having the Microsoft .NET Features installed is a common issue. You will need to manually add the feature before moving forward. While you do go ahead and leave this SQL window open. Jump back over to your SQL Installation Rules screen and click the Re-run
- If the tests are Passed click Next to continue.
- Assuming this is the only install of SQL Server on this server then you are going to want to take all of the default settings for the Instance Configuration screen. If you have other SQL Instances installed on this server you are more advanced than reading this blog post. Click Next.
- At the Disk Space Requirements screen click Next.
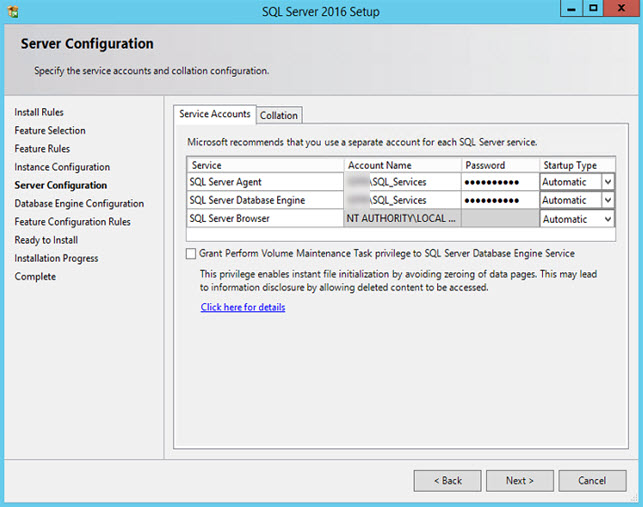
- For the Server Configuration screen it is asking you what account you want to run SQL Server as. The only service you are worried about right now is the SQL Server Database Engine. This service should always be run as a domain account not a local account. Next to SQL Server Database engine click on NT Service\MSSQLSERVER
- Click <<Browse…>>.
- Select your SQL Service account(SQLService) and click OK.
- Enter the account password and click Next.
- On the Database Engine Configuration screen of the defaults. Click Add Current User (SQLAdmin) and add the SPFarm User before you continue on.
Store your data, backup and log files on different volumes. By default SQL Server will store everything on the C: drive. Change this in the production server. Once you are ready click Next.
- For the Error Reporting screen select Send Windows and SQL Server Error Reports…
- Click Next.
- At the Installation Configuration Rules screen click Next.
- You are Ready To Install, so click Install.
Installation steps and Screenshots
Mount Installation Media on SQL Server, it will show the installation splash screen as below:

Under Installation, click on New SQL Server stand-alone Installation or add features to an existing installation.

Press Next on above screenshot and accept the license terms in below screenshot.

Follow the screenshots below and press next:


Select the Database Engine Services as shown in below screenshot, you can also change the instance root drive in this step:

Select the default instance which is MSSQLSERVER by default:

Add SQLService user account to run SQL Server Agent and SQL Server Database Engine services, follow the screenshot below:

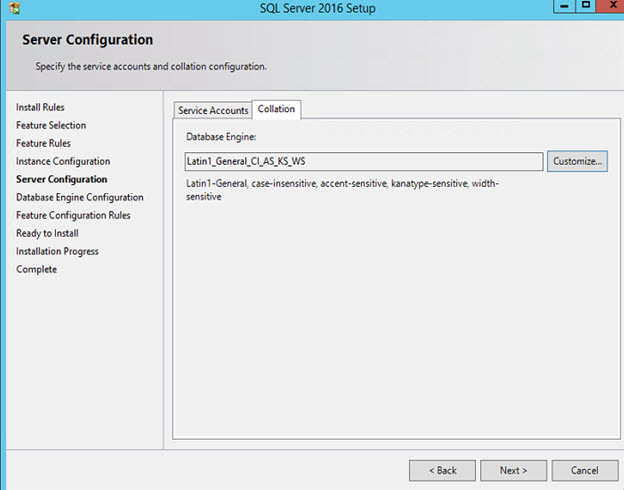
Click on the Collation tab before pressing next, Microsoft support any CI collation for the SQL instance (for master, tempdb databases). But they recommend using Latin1_General_CI_AS_KS_WS as the instance default collation (master, tempdb databases). From <https://support.microsoft.com/en-us/kb/2008668>

Press Next, and add SQLAdmin and SQLService accounts in SQL Service Administrators:

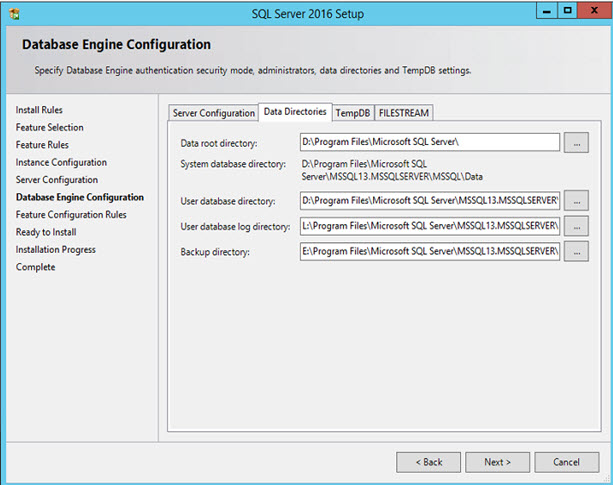
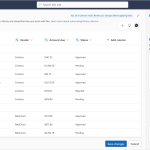
Choose separate locations other than Server that SQL Server is installed on for data, log and backup files. You can change the default data directories as shown below:

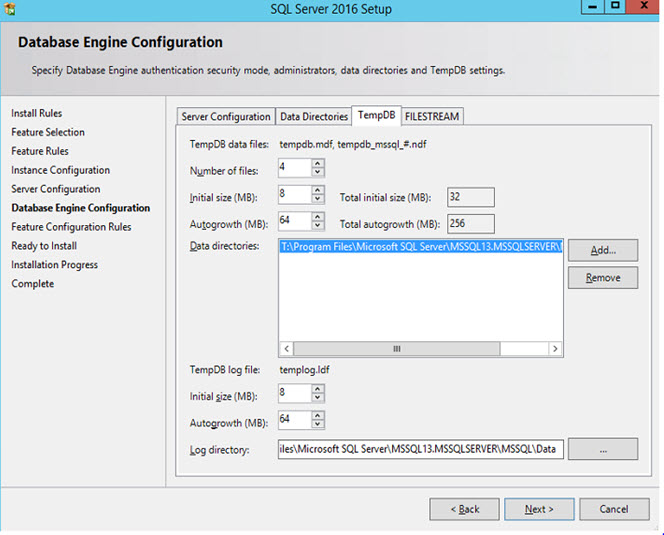
Setup SQL Server TempDB location, Create SQL Path to maintain consistency T:\Program Files\Microsoft SQL Server\MSSQL13.MSSQLSERVER\MSSQL\Data

Press next which will take you to the Ready to Install screen. Click in Install button to start the installation of SQL Server:

You will see the below screen after successful installation:

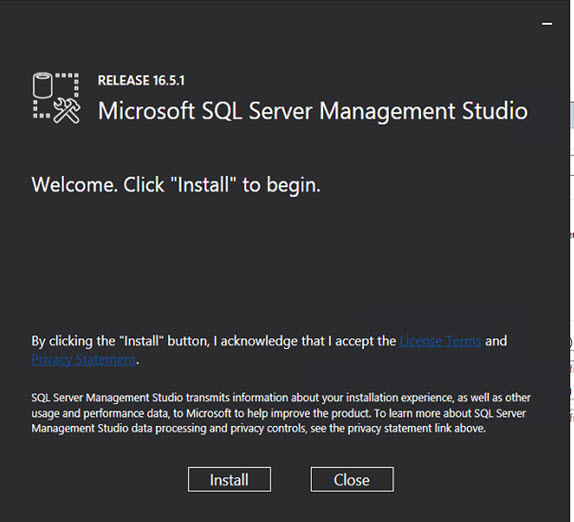
Install SQL Server Management Studio (SSMS)
Download SSMS from https://docs.microsoft.com/en-us/sql/ssms/download-sql-server-management-studio-ssms. Run SSMS Installer and click on install button:
 Click on the Close button after installation is completed.


1 Comment