After Installation of SharePoint on all application and web front end servers as mentioned in SharePoint Server 2016 Installation Step by step, you need to stat the configuration wizard to create a new farm.
You are now ready to run the SharePoint 2016 Products Configuration Wizard located on the Windows Start menu. Follow these steps to create a farm:
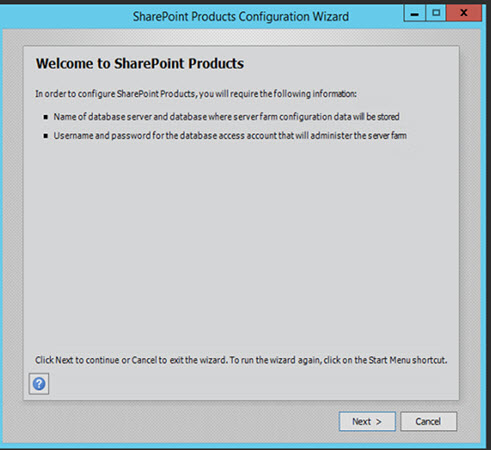
1- On the Welcome to SharePoint Products page, click Next.
2- In the dialog box that notifies you that some services might have to be restarted during configuration, click Yes.

3- On the Connect to a server farm page, click Create a new server farm, and then click Next.

4- On the Specify Configuration Database Settings page, do the following:
5- In the Database server box, type the name of the computer that is running SQL Server.
6- In the Database name box, type a name for your configuration database, or use the default database name.

7- In the Username box, type the user name of the SharePoint farm account in DOMAIN\user name format.
8- In the Password box, type the service account’s (SPFarm) password and click on Next button.
9- On the Specify a Server Role, Click on “Application with Search”. You can also select single server Farm option if you want to deploy SharePoint 2016 on a single Farm. Similarly, you can select options under detected roles or can use Shared roles.

10- On the Specify Farm Security Settings page, type a passphrase,
Save this passphrase in a secure location, this information will be needed when adding/removing servers in addition to being the central encryption key for your SharePoint farm.
Although a passphrase resembles a password, it is usually longer to improve security. It is used to encrypt credentials of accounts that are registered in SharePoint 2016. Ensure that the passphrase contains at least eight characters and at least three of: uppercase letters; lowercase letters; numbers; non-alphabetic characters. Click Next button after entering Passphrase.
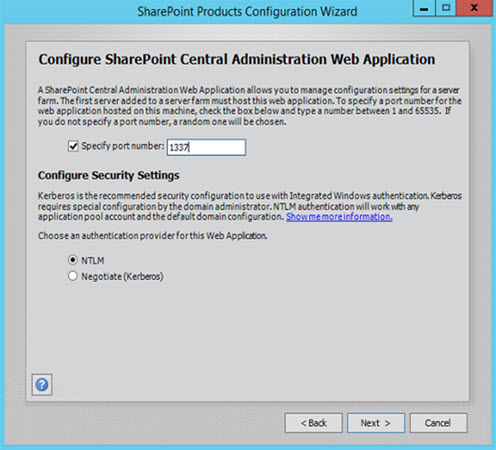
11- On the Configure SharePoint Central Administration Web Application page, do the following:
12- Select the Specify port number check box and type a number (of your choosing e.g. 8181, 1337 etc) as the port number for the SharePoint Central Administration web application. Select NTLM under security settings and press next button.
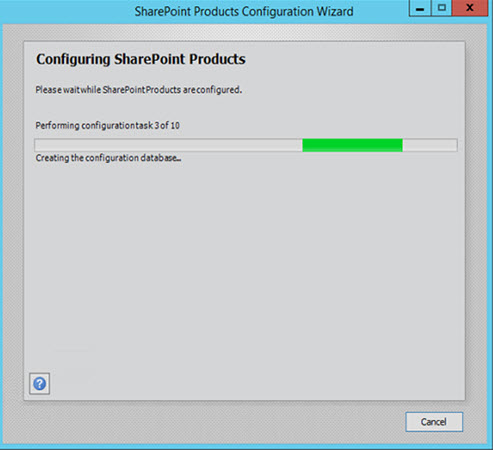
13- On the Completing the SharePoint Products Configuration Wizard page, click Next.

14- Product configuration process can take some time to complete.
15- On the Configuration Successful page, click Finish.
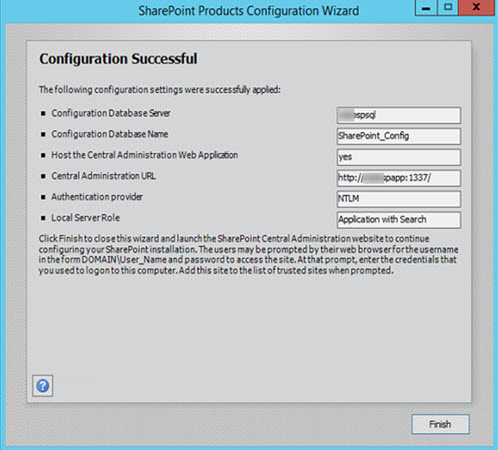
16- The Central Administration website will open in a new browser window. On the Help Make SharePoint Better page, click No, I don’t wish to participate and then click OK.
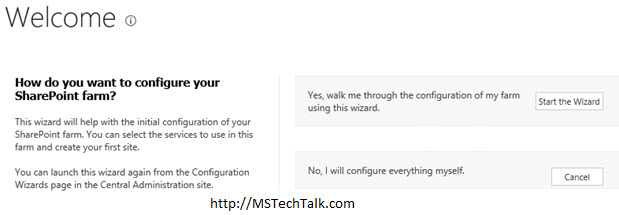
17- On the Initial Farm Configuration Wizard page, click Cancel. You can configure the services using Farm configuration wizard, I will show you how to manually configure the services in upcoming blog posts. It is also recommended to manually configure services in when you have more than one server for SharePoint (like app servers and WFEs).
SharePoint
SharePoint 2016
SharePoint Application Server
SharePoint Products Configuration Wizard
sharepoint server products configuration wizard
SharePoint Step by Step Installation
Adnan, a distinguished professional, boasts an impressive track record as a Microsoft MVP, having achieved this prestigious recognition for the eighth consecutive year since 2015. With an extensive career spanning over 18 years, Adnan has honed his expertise in various domains, notably excelling in SharePoint, Microsoft 365, Microsoft Teams, the .Net Platform, and Microsoft BI. Presently, he holds the esteemed position of Senior Microsoft Consultant at Olive + Goose.Notably, Adnan served as the MCT Regional Lead for the Pakistan Chapter from 2012 to 2017, showcasing his leadership and commitment to fostering growth within the tech community. His journey in the realm of SharePoint spans 14 years, during which he has undertaken diverse projects involving both intranet and internet solutions for both private and government sectors. His impact has transcended geographical boundaries, leaving a mark on projects in the United States and the Gulf region, often collaborating with Fortune 500 companies.Beyond his roles, Adnan is a dedicated educator, sharing his insights and knowledge as a trainer. He also passionately advocates for technology, frequently engaging with the community through speaking engagements in various forums. His multifaceted contributions exemplify his dedication to the tech field and his role in driving its evolution.


1 Comment